Once you have chosen a domain name for your new site you will need to register it. Registering a domain does not mean you are buying it, it’s more of a rental agreement: that as long as you are willing to pay the rent for the domain you are allowed to use it.
You can register it for one year and renew the registration each year, or in the majority of cases, you can register your domain for up to ten years.
Things to Look Out For
When you register your domain the chances are you will be given the option to purchase hosting at the same time.
To entice you to do this some companies will offer you incentives. A common one is a free domain registration for the first year if you take up hosting with them. I have never opted for an offer like this. I prefer to keep my hosting and domain registrar separate for the simple reason of I don’t like to keep all my eggs in one basket.
If you do decide to take up an offer like this be sure to check the small print and confirm there are no additional costs/clauses/tie in periods with the deal.
Which Domain Registrar Did I Choose?
I read many reviews of different companies before I made my decision. I was not interested in who offered the cheapest domain registrations, I was more interested in the customer care side of things.
I found a popular choice was Namecheap and that was the company I decided to use. I am not saying they are the best domain name registrar, however my experience with them so far has been positive.
Their registration process is extremely simple and their 24/ 7 live support is responsive and effective in my experience so far.
How to Register Your Domain Name With Namecheap
First of all go to Namecheap and click on the Sign Up button at the top the page.

You will be taken to the create account form shown below. When filling in your details make sure you are happy with your username as it cannot be changed once your account is created.

Once you have created your account you will end up on the next page. Click on Domains to start registering your domain name.
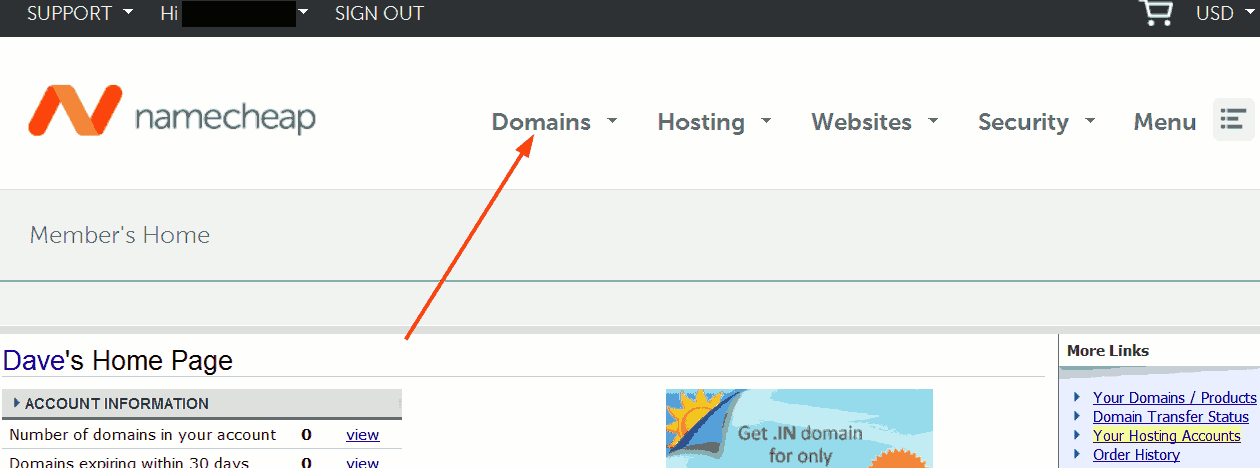
Enter your chosen domain name and click on Search. For this example I’ve used “websitetestblog”.

Now add it to your cart and click on View Cart.
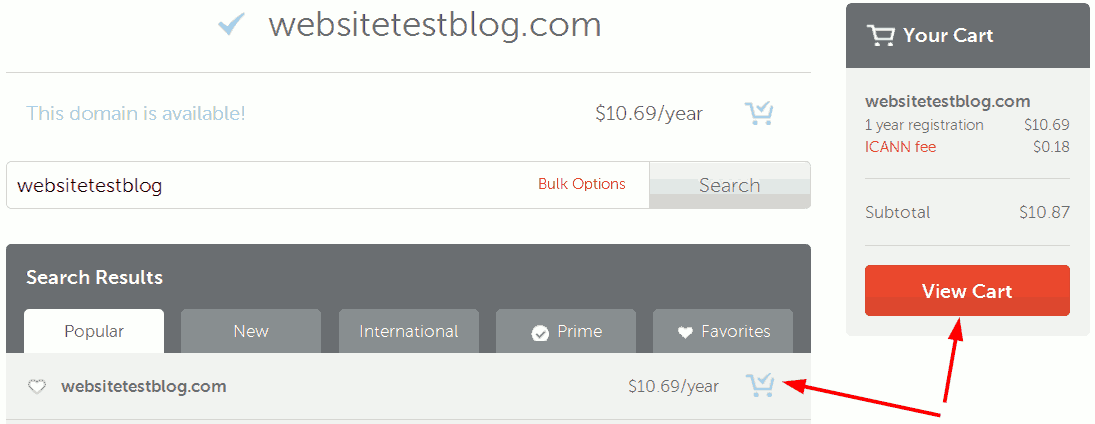
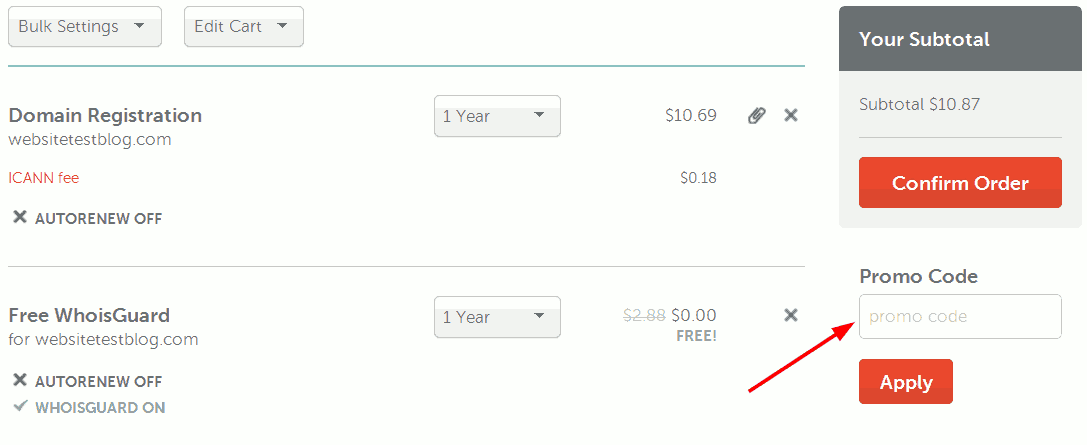
Next you need to complete the checkout page.
After applying your coupon click on the Confirm Order button.
Next fill in your contact information and click on Continue.
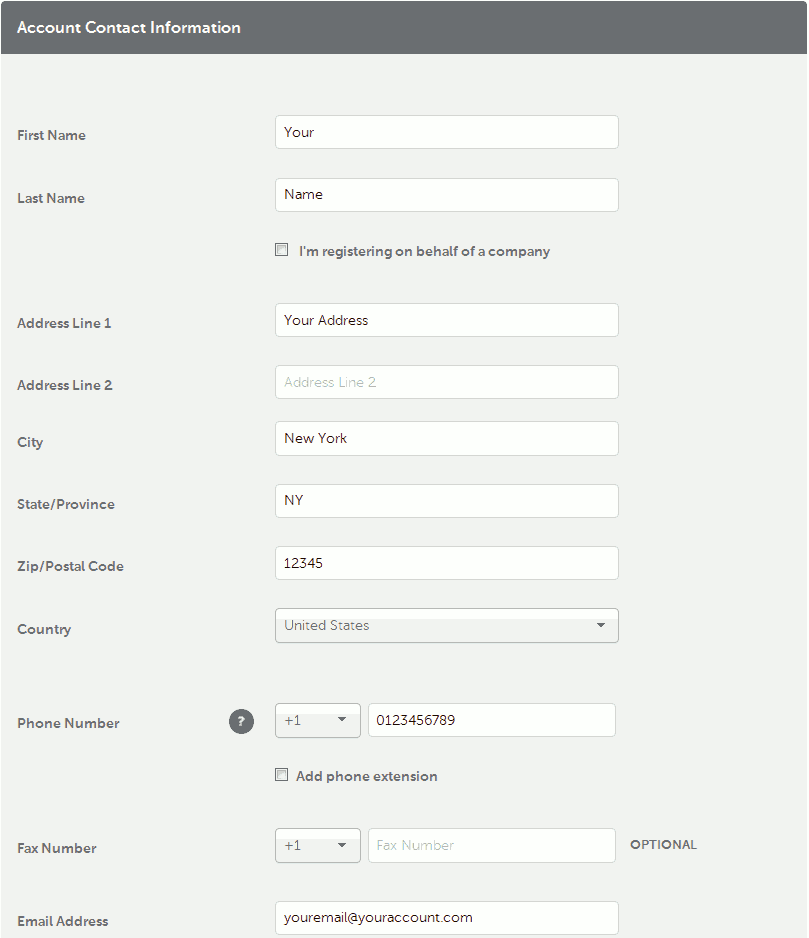
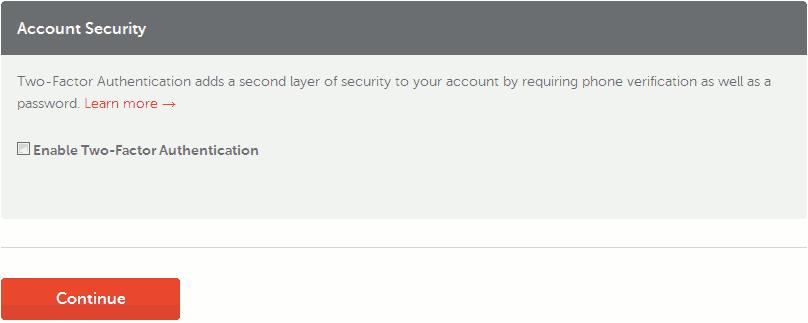
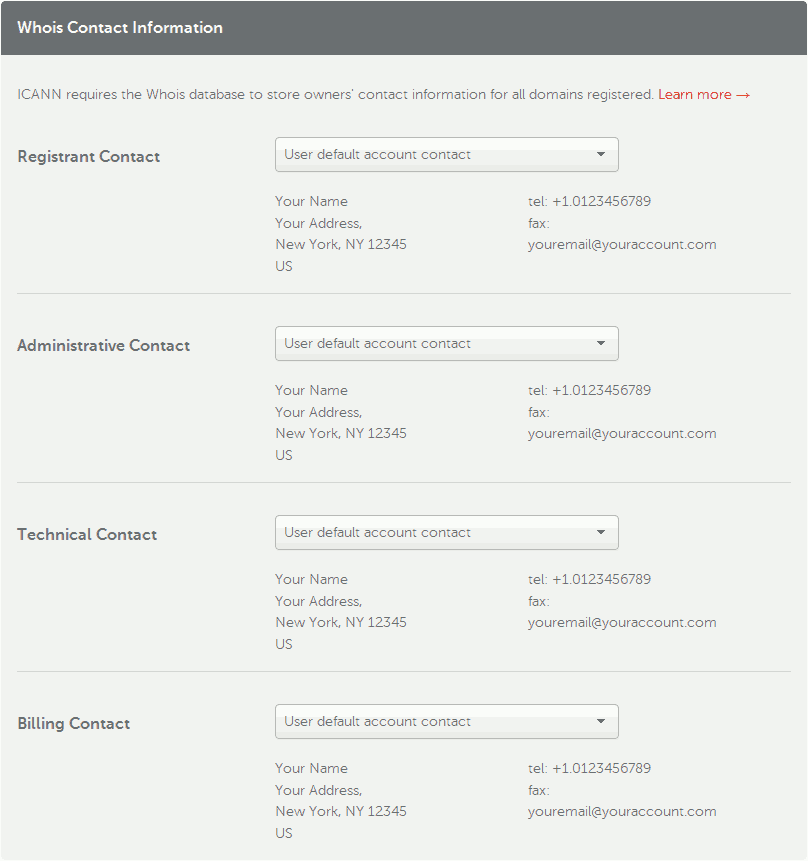
The following form will be prefilled with the details you have just entered in the previous contact information form. If you own a company and certain people are delegated certain functions within your business, this is where you would record the details. If this is not the case leave all the information as it is.
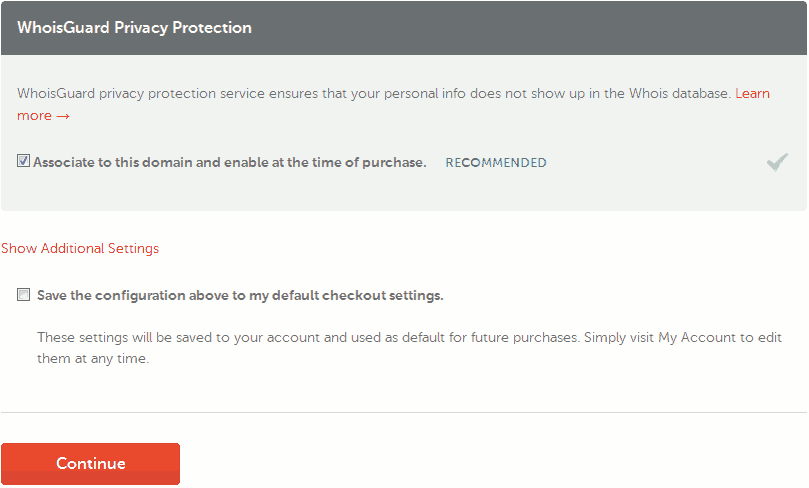
I highly recommend you leave the WhoisGuard privacy option enabled. If you’re not sure what a domain privacy service does then take a look at this post for an explanation of how it works.
Next click Continue.
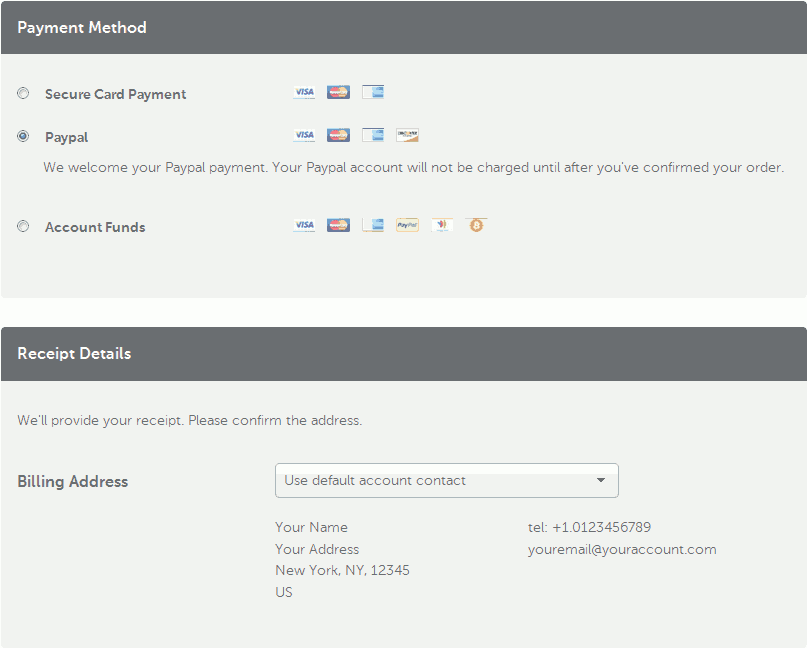
You will now be taken to the payment screen. Select your method of payment and change your renewal settings if you prefer to personally select which items to renew.
Once done click on Continue.
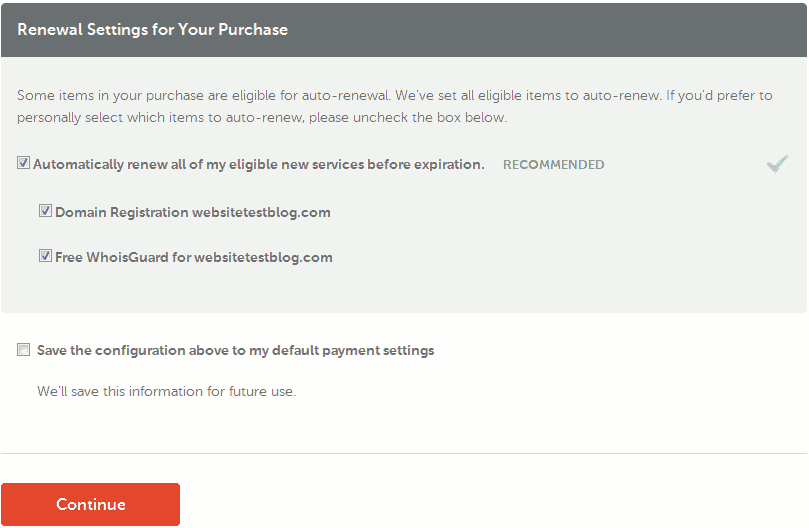
Now you can review your order. Once you’re happy with your order you can proceed with the payment.

Note: If you have set up hosting with another provider you will have to change the name server details in your Namecheap account. I have demonstrated how to do this in this post: How to Change Your Name Servers
One final thing to do is check that WhoisGuard is enabled on your domain, if that’s the option you chose. Whilst it should have activated automatically, it’s a double check to make sure it has.
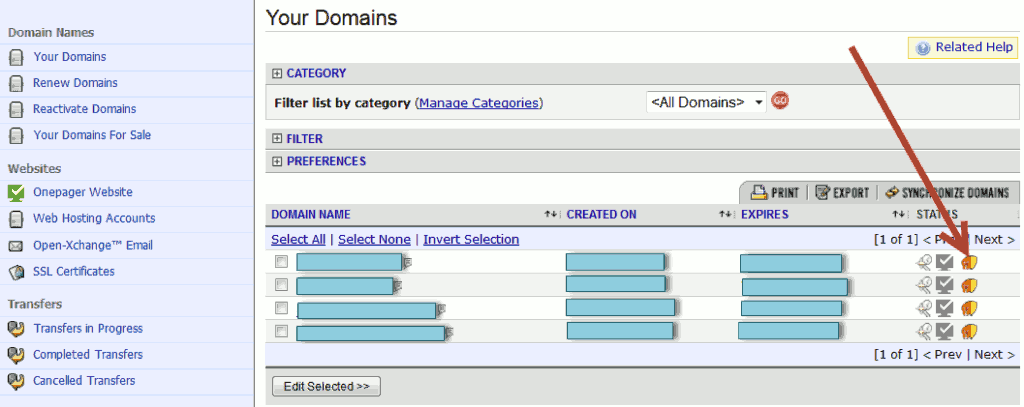
To do this open up the drop down menu next to your username and click on Manage Domains.

Now hold your cursor over the WhoisGuard icon to see if it’s enabled or not. If you need to change the settings click on the icon and change as necessary.

Leave a Reply