In this post I will show you how to set up an account with Bluehost and how to install WordPress via your Bluehost cPanel. It’s a simple process that should only take about five minutes to complete.
Before starting you need to choose a domain name. For example my domain name is dave-lucas.com. Once you have done this you’re ready to get started.
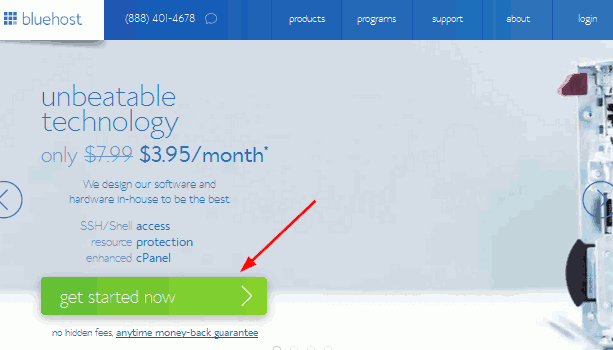
First of all go to Bluehost (link opens up in a new window so you can refer to these instructions as you go through the process) and click on the button shown below.
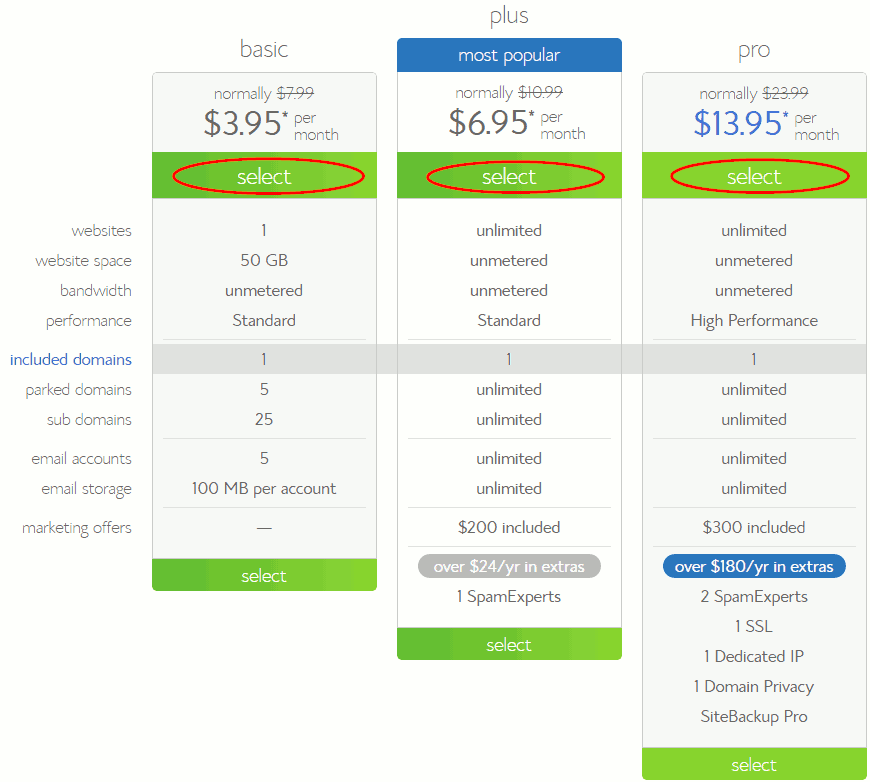
Next select a plan.
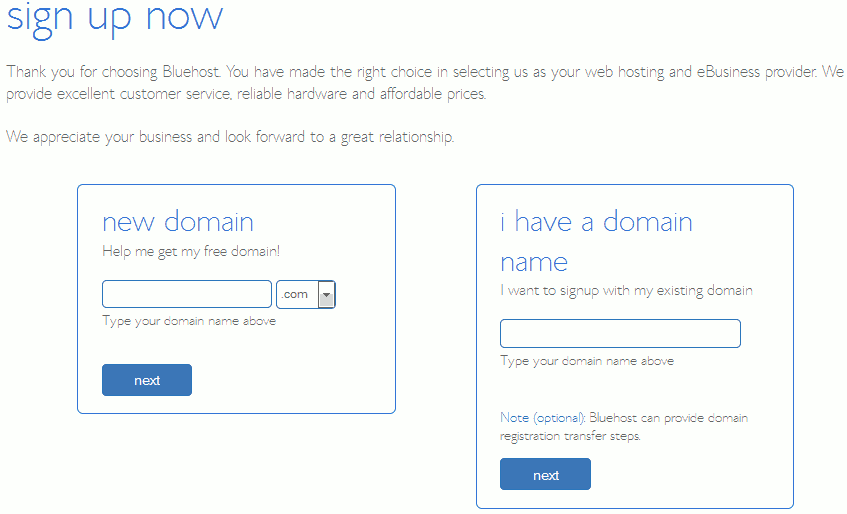
You are now given two options:
1 – If you want to register your chosen domain with Bluehost then enter it in the box on the left.
2 – If you have already registered your domain elsewhere then enter it in the box on the right.
Now click the Next button.
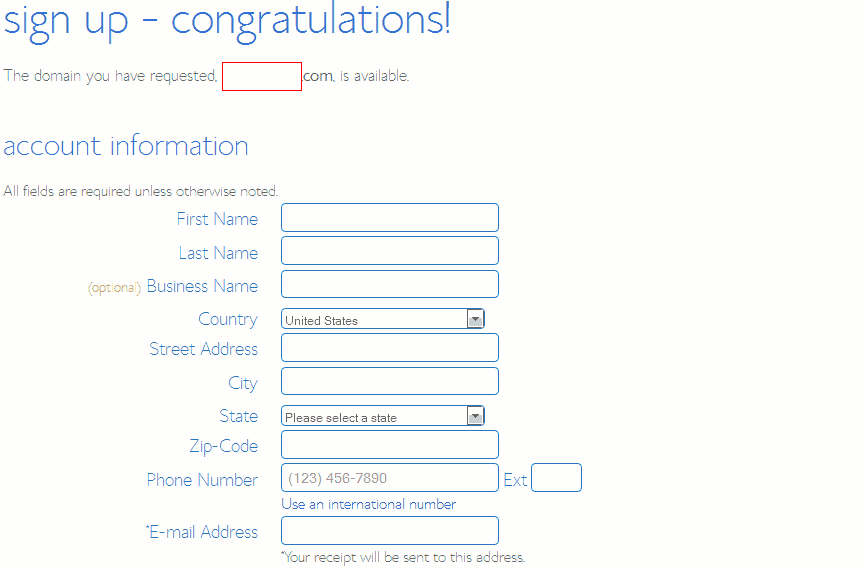
On the next form there are three sections to complete:
1 – Account Information – Enter your name and contact details.
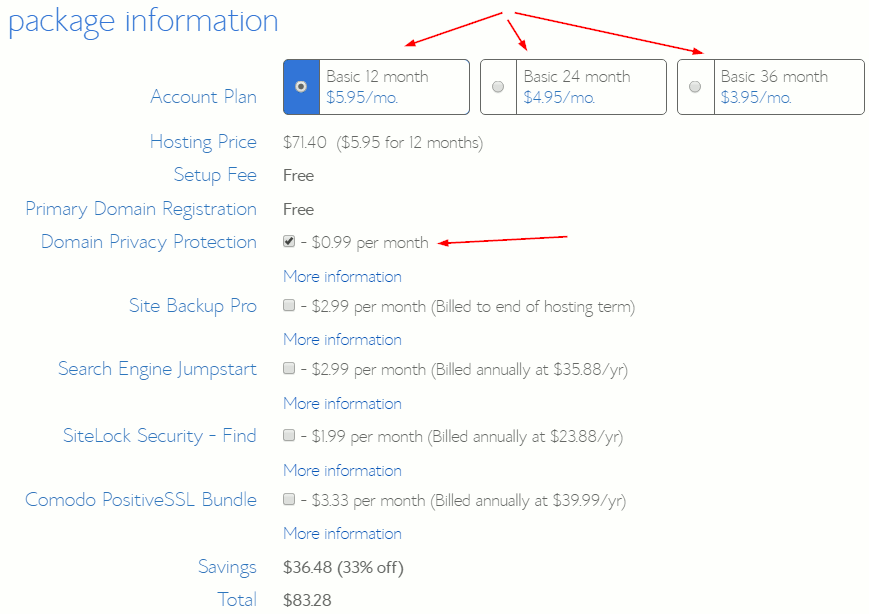
2 – Package Information – Select a duration for your account plan. The longer you sign up for the cheaper it is.
Next decide if you want to keep your personal details private. If you do, then check the Domain Privacy Protection box.
NOTE: The Domain Privacy option only becomes available if you have chosen to register your domain with Bluehost.
If you have registered your domain elsewhere, and you require privacy protection, then check with your current registrar to see if they offer this service. If they don’t, then you always have the option of transferring your domain to a registrar that does.
Regarding the other options available, I don’t use any of them. However, if any are of interest to you, be sure to read up on them first.
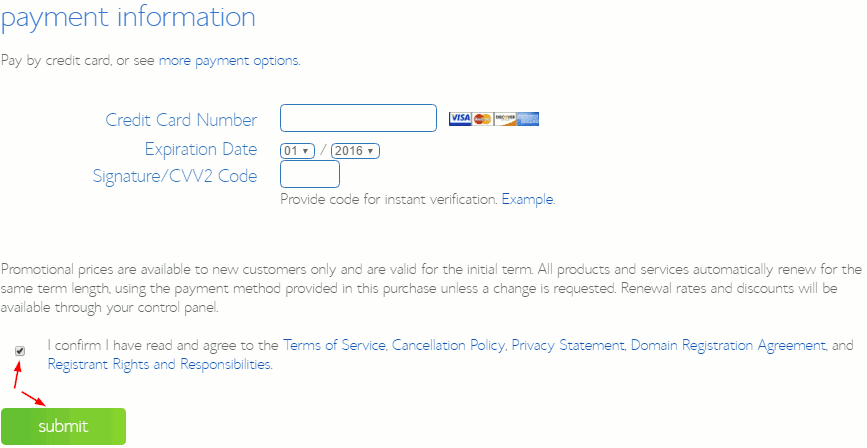
3 – Billing Information – Choose your method of payment, read the small print, check the box and click submit.
You are then taken to a page of upgrades. If you don’t need any (I didn’t) make sure your upgrade costs are zero and complete the order.
When completed, a confirmation email will be sent to the email address you entered in your Account Information details. Hang on to this email as it contains your Bluehost name servers and FTP connection details.
Next you will be asked to create a password for your account. Once you have done this your Bluehost account is set up and you are now ready to log in and install WordPress.
How to Install WordPress on Bluehost
Go back to Bluehost and click on the Login button shown below.

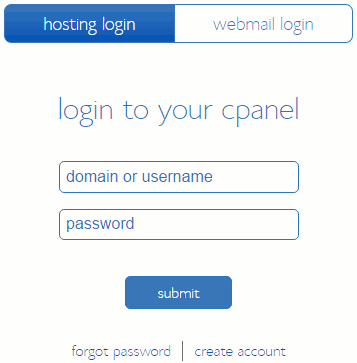
Enter your login details.
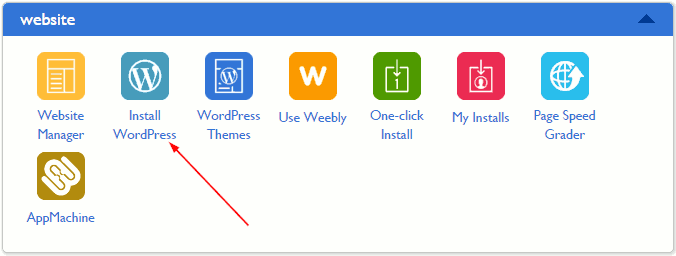
When logged in to your cPanel, scroll down to Website and click on Install WordPress
Click on Install.

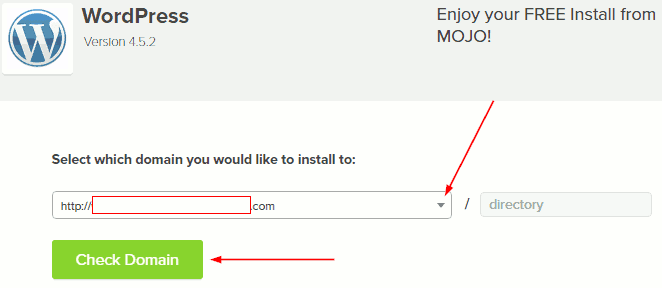
Here you will see your domain. From the drop down menu you have the option of installing your domain with or without “www” at the beginning. When done click on Check Domain.
Next check the Show Advanced Options box.
Here you can give your site a name and choose an admin username and password for your WordPress site. (Do not use “admin” for your username – hackers commonly use this username when attempting to break into WordPress sites.)
When done, read the small print then click on Install Now.

Once your install is complete you will see the confirmation below. You will also receive an email that contains your WordPress login URL and admin username. However, it will not include your password. So if you haven’t yet made a note of your password now is a good time to do so.
To view your login details, including your password, first click on the View Credentials button.

Then click on the View button. You can now copy your login details and keep them in a safe place

If you registered your domain with Bluehost you can now type your domain into a browser and view your new site. If you registered your domain elsewhere, before your site can be viewed on the web, you will have to change the name servers of your domain to the ones you received in the welcome email from Bluehost.
They look this:
ns1.bluehost.com
ns2.bluehost.com
You can usually change the name servers of your domain yourself. I register my domains with Namecheap and you can see how I change them in this post: How to Change Your Name Servers. If you don’t use Namecheap it’s still worth taking a look at this post as it will give you an idea of what to do.
If your registrar does not allow you to change your name servers online, you will have to contact them and ask them to change them for you.
After you have changed your name servers it generally takes around 24 to 48 hours before you can view your site on the web.
Bluehost FTP Access
Finally, it’s worth mentioning that the Bluehost FTP information you received in your welcome email is a little vague. It does not tell you what ports to use, or if it is possible to connect to your server using an SFTP connection, although I can confirm that it is.
Here are the ports:
For Bluehost FTP access use port 21
For Bluehost secure FTP access (SFTP) use port 22
Note: To set up a Bluehost SFTP connection you first need to enable SSH/Shell access from within your Bluehost account. If you don’t know how to do this click on this link to learn how.
You will also need an FTP program to connect to your server. I use FileZilla and in this post I show you how I set up a connection with HostGator using FileZilla. Even though the post demonstrates how to connect to HostGator, it is the same process if you want to connect to Bluehost. You just need to enter the relevant port numbers.
This piece of writing will help the internet visitors for setting up new blog or
even a blog from start to end.